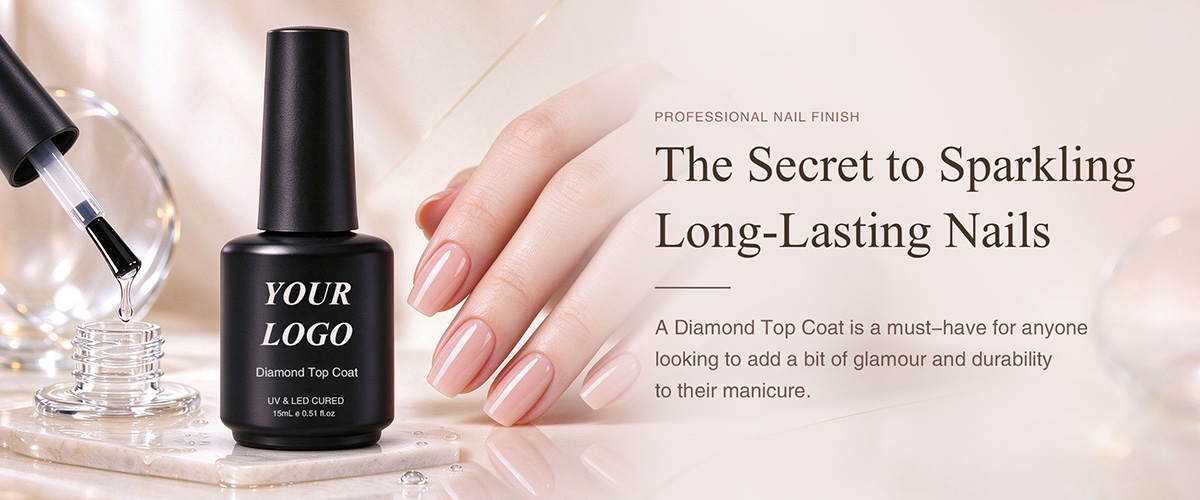
A Diamond Top Coat is a must-have for anyone looking to add a bit of glamour and durability to their manicure. This product provides an extra layer of shine, enhancing the depth and vibrancy of nail art. Let’s take a deep dive into how to use Diamond Top Coat, its benefits, and how to get the most out of this luxurious finish.
A “diamond” top coat may describe a high-gloss finish or a glitter-containing product, depending on the supplier. Check the specific formula rather than assuming the name defines its ingredients. Apply only the recommended amount over compatible products and follow the specified curing and cleansing instructions.
What is a Diamond Top Coat?
Diamond Top Coat is a high-gloss, durable finish that is often used in gel nail applications.
Diamond Top Coats are often made with a non-tacky formula, which means they can be applied directly after curing the nail art without the need to wipe off a sticky layer. This is a major time-saver and ensures a smooth, glossy finish.
Why Use a Diamond Top Coat?
Extra Shine: The main benefit of a Diamond Top Coat is its ability to add an intense, glass-like shine to your nails. This makes your nail art pop and gives it a glossy, professional finish.
Durability: Diamond Top Coats are designed to strengthen the surface of your nails, providing extra protection against scratches, chips, and wear.
Step-by-Step Guide to Applying Diamond Top Coat
Step 1: Nail Preparation
As with any manicure, it’s important to start with properly prepared nails. Clean and shape your nails, push back your cuticles, and lightly buff the surface to remove any oils or residue.
Step 2: Apply Base Coat and Color
Begin with a base coat to protect your nails and ensure the color adheres properly. After curing, apply your desired gel color or nail art. Once you’re satisfied with the look, cure the color layer.
Step 3: Apply the Diamond Top Coat
After curing your nail color, apply of Diamond Top Coat over the entire nail. Be careful to coat the edges and tips of the nails to seal in the design and prevent chipping. Cure the top coat under a UV/LED lamp for the recommended time (usually 30-60 seconds).
Step 4: Wipe Off the Sticky Layer
If your Diamond Top Coat has a tacky layer after curing, wipe it off with a lint-free wipe soaked in alcohol. This will leave your nails with a smooth, glossy finish.
Tips for Best Results
Use Thin Layers: When applying Diamond Top Coat, use thin, even layers. Thick layers may result in bubbling or a tacky finish that isn’t smooth.
Cure Properly: Always cure each layer fully to ensure maximum shine and durability. Insufficient curing can cause the top coat to become dull or peel off.
Pair with Glitter: If you’re working with glitter polish or nail art, a Diamond Top Coat will enhance the sparkle, giving your design an extra boost.
Troubleshooting
Dull Finish: If the finish looks dull after curing, it could be because the top coat was not applied evenly or was over-cured.
Peeling: If the Diamond Top Coat peels off prematurely, ensure your base and color coats were applied smoothly and cured correctly.
Diamond Top Coat is an excellent way to elevate your manicure, whether you want a glossy finish or some extra sparkle. With the right application, your nails will shine like diamonds, giving you a flawless, high-end look.